These instructions are for configuring wireless access to eduroam on Windows XP using the built-in wireless networking configuration utility.
Configuration Steps
1. Open Network Connections. The way to do this varies, depending on how your Windows environment is customised:
- In the default situation select Start, then Control Panel, then Network and Internet Connections, then Network Connections
- If you use the Classic View of Control Panel, select Start then Control Panel, then Network Connections
- If you have the Control Panel displayed as a submenu from the Start Menu, one of the options will be Network Connections
- If you are using the Classic View of the Start menu and the Control Panel option is not shown select Settings, then select Control Panel from the submenu
- You can also right click on the wireless adaptors icon in the tool tray and clicking Open Network Connections
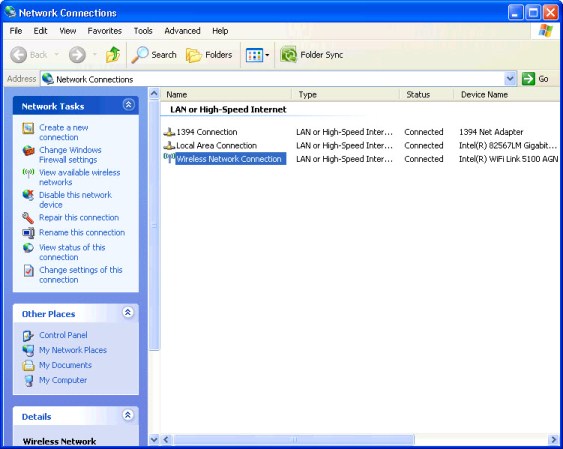
2. From the Network Connections window, double-click on your wireless network adapter (this will probably be one of the icons, with the word ‘Wireless’ somewhere in the text below it):
 |
3. The Wireless Network Connection Status dialogue box opens
- If you are not connected to a wireless network you will already be at the next step
- If you are already connected to a wireless network (e.g. HUTWLAN, as in the image below) select View Wireless Networks
 |
4. The Wireless Network Connection window will open (the exact title will depend on the name of the wireless network adapter you have in your computer)
- If you see a list of available wireless networks, select Change the order of preferred networks from the options on the left (DO NOT select eduroam from the list on the right at this point!):
5. If a list of wireless networks is not displayed on the right hand side and you get the message shown below:
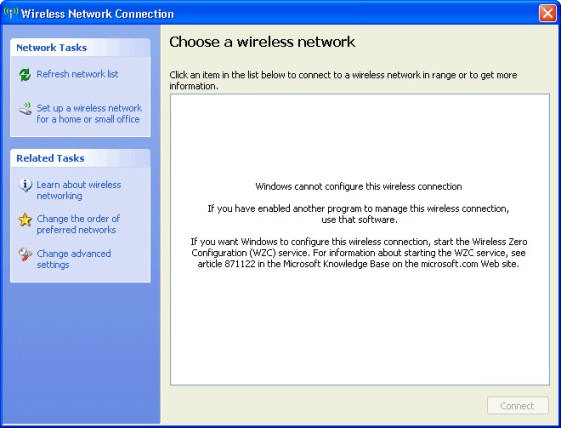 |
6. If you see this screen then you either have a third party tool installed , such as the Intel ProSet tool. You cannot follow these instructions any further unless you can disable that utility.
7. Information on configuring the popular Intel PROSet/Wireless utility, used on many laptops with Intel wireless network interfaces, is provided.
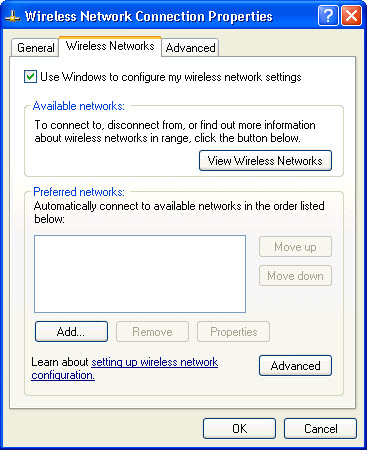
8. The Wireless Network Connection Properties dialogue box will open, showing the list of configured wireless networks. Click on the Add… button:
 |
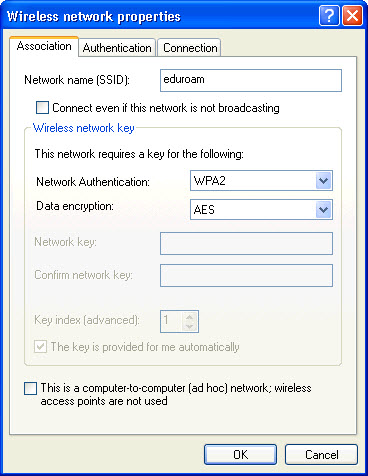
9. The Wireless network properties dialogue box will open, showing the Association tab which allows the settings for a new connection to be configured:
- Complete the settings in this tab of the dialogue box as shown below:
- In the Network name (SSID) box, type eduroam (note the lower-case ‘e’)
- From the drop-down lists
- From Network Authentication choose WPA2 and from Data encryption choose AES (if they are available)
- if neither WPA2 nor WPA are available the wireless network card you have in your computer is too old and you cannot use eduroam at the Research Centre.
 |
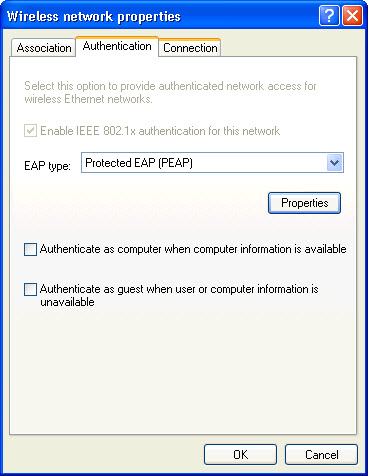
10. Now select the Authentication tab at the top of the window (DO NOT ‘OK’ the dialogue box at this point!)
- Complete the settings in this tab of the dialogue box as shown below:
- From the drop-down list selecting the EAP type, choose Protected EAP (PEAP).
- Untick Authenticate as computer when computer information is available.
 |
11. Again, DO NOT ‘OK’ the dialogue box but click on the Properties button under the EAP type drop-down list to open the Protected EAP Properties dialogue box:
- Complete the settings in this tab of the dialogue box as shown below:
- From the list of Trusted Root Certification Authorities, scroll down to find Hutchison-MRC-CA
- If the Hutchison-MRC-CA is not in the list, follow the procedure detailed here
- Tick the box next to Do not prompt user to authorize new servers or trusted certification authorities.
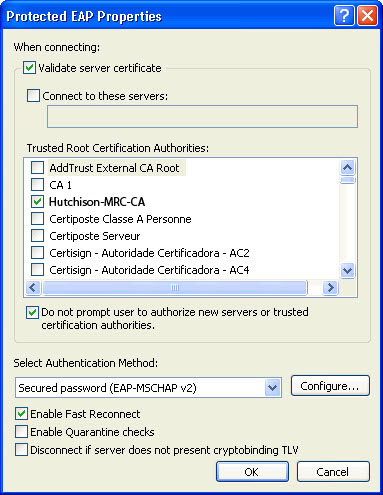 |
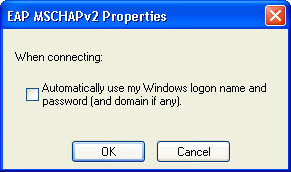
12. The drop-down list under Select Authentication Method should already have Secured password (EAP-MSCHAP v2) selected – select the Configure… button next to it to open the EAP MSCHAPv2 Properties dialogue box:
- Untick the box next to Automatically use my Windows logon name and password (and domain if any) then select OK
 |
13. Select OK in the Protected EAP Properties dialogue box.
14. Select OK in the Wireless network properties dialogue box.
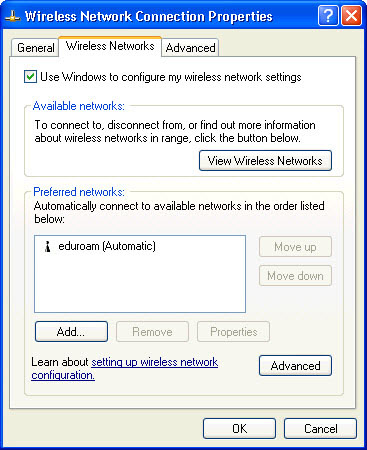
15. The Wireless Network Connection Properties dialogue box will now be displayed again. You can prioritise connecting to eduroam over other wireless networks (for example, preferring it to Lapwing), if more than one is available at any time, by selecting it in the Preferred networks list and then using the Move up button to move it up the list and set the order of preference.
16.
 |
17. Click OK in the Wireless Network Connection Properties dialogue box.
18. After a short period of time, your computer should detect the eduroam wireless network and display a balloon, asking if you want to enter your details to connect to it:
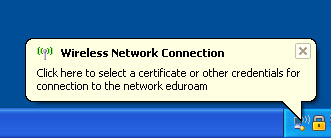 |
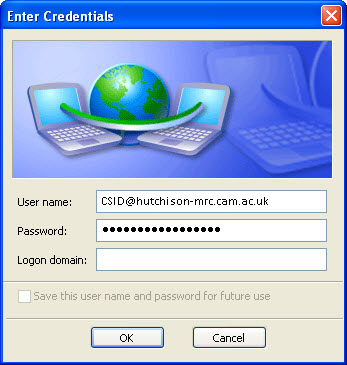
19. Click in the balloon and a dialogue box will appear, prompting you for your credentials:
- Your username must be entered is the form below, substituting CSID for your own user ID.
 |
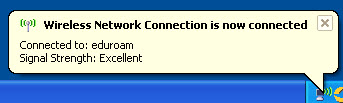
20. Click OK and, after a few seconds you should be connected to the eduroam network. Depending on settings you may see a balloon appear indicating you are connected
 |
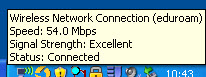
- If not, you can hover the mouse over the wireless icon in the tool tray to see the current status
 |
If you get an error saying that authentication has failed, double-check the above steps. If you are still unable to connect contact IT Helpdesk for assistance.
All the settings you have made are stored in your computer and should not need re-entering each time you connect: when the eduroam network is in range, the connection balloon should automatically appear, informing you that you have connected successfully.