Configuration Steps
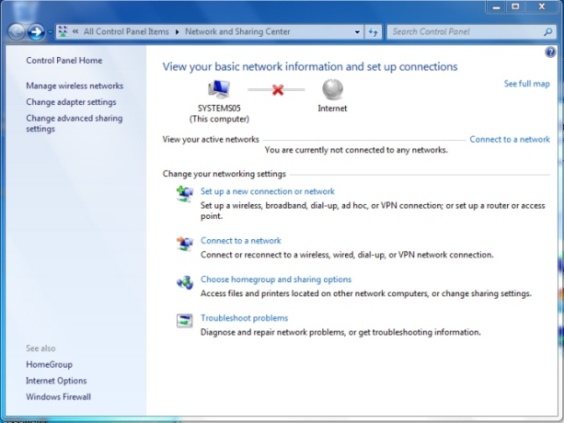
- Go to Start, then Control Panel, then Network and Internet, then Network and Sharing Center.
- From the list of tasks select ‘Connect to a Network’.
- From the list of available wireless networks choose ‘Manually connect to a wireless network‘.
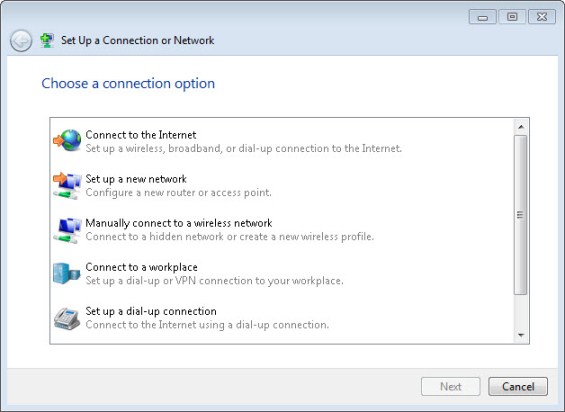
- You will then be asked for information about the wireless network.

- In the Network name box, type eduroam (note the lower-case ‘e’).
- From the drop-down lists:
- For Security type choose WPA2-Enterprise (or WPA-Enterprise if your wireless card doesn’t support WPA2).
- For Encryption type choose AES (or TKIP if your wireless card doesn’t support AES).
Select Next. You should now be told that eduroam has been successfully added. Select ‘Change connection settings’.
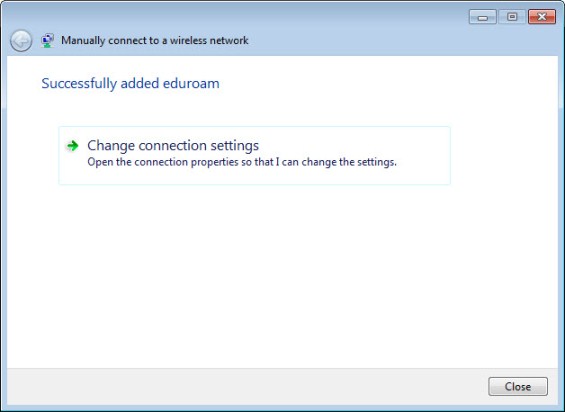
This will bring up the network wireless connection properties.
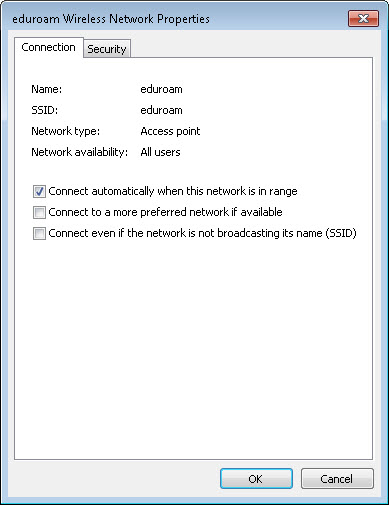
5. On the ‘Connection’ tab un-check ‘Connect to a more preferred network if available’. The result should look as below:
6. Select the ‘Security’ tab.
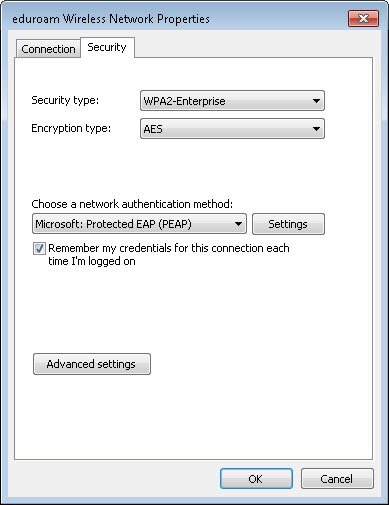
- From the drop-down list for Choose a network authentication method choose Protected EAP (PEAP).
- Select Settings…
7. Complete the settings in this dialogue box as shown:
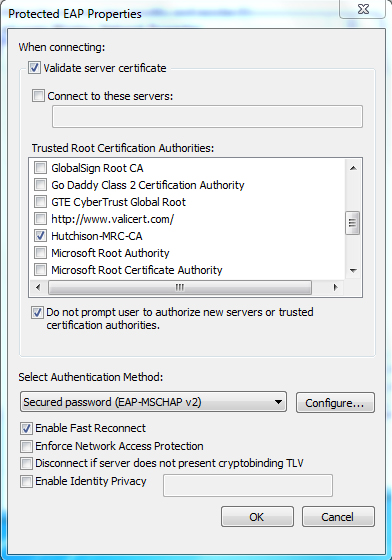
- Make sure Validate server certificate is ticked.
- From the list of Trusted Root Certification Authorities find Hutchison-MRC-CA and tick the box next to it. If Hutchison-MRC-CA is not in the list of Trusted Root Certification Authorities then go here.
- Tick the box next to Do not prompt user to authorize new servers or trusted certification authorities.
8. The drop-down list under Select Authentication Method should already have Secured password (EAP-MSCHAP v2) selected – select the Configure… button next to it to open the EAP MSCHAPv2 Properties dialogue box:
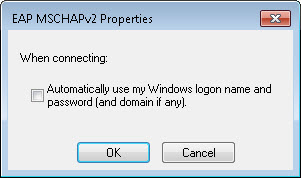
9. Untick the box next to Automatically use my Windows logon name and password (and domain if any) then select OK, then select OK to close the Protected EAP Properties dialogue box.
10. Now, from the Security tab select Advanced settings.
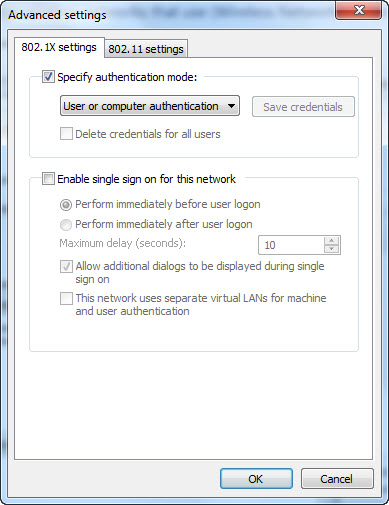
11. Check that you have the 802.1X settings tab and, from the pull-down menu select User or computer authentication, then select OK.
12. Select OK to close all the various dialogue boxes.
13. Select Close to close the “Manually connect to a wireless network” box.
14. After a short period of time, your computer should detect the eduroam wireless network and connect automatically.
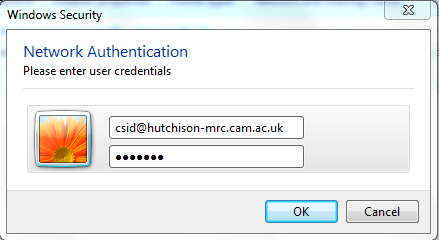
15. When the balloon below appears, click on it to proceed.

16. Enter your credentials as below, substituting CSID for your own user ID.
17. You should now be connected to eduroam. You can this by either:
- Left clicking on the wireless icon in the tool tray
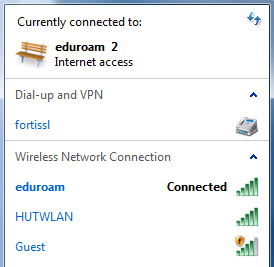
Or by going to Go to Start, then Control Panel, then Network and Internet, then Network and Sharing Center.