Configuration steps
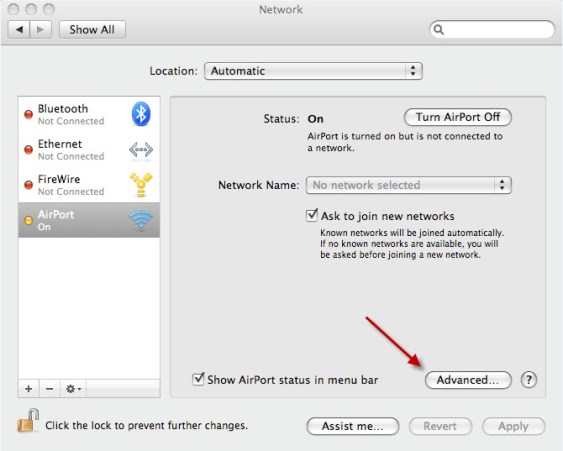
1. Open System Preferences, select Network
 |
2. Select Advanced
 |
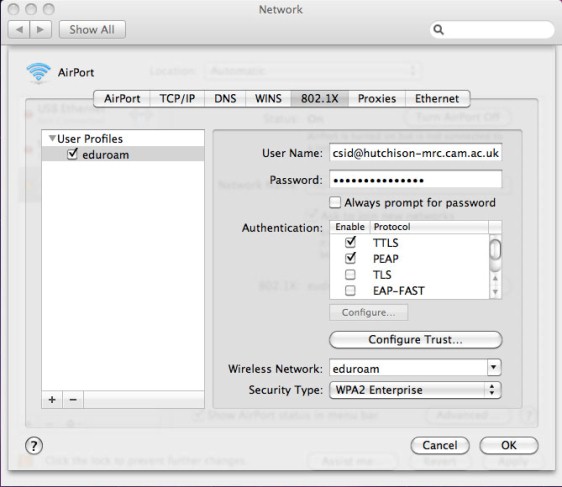
3. Select 802.1X
4. Select User from the Domain dropdown menu
5. Configure 802.1X User Profile
- Name Profile eduroam
- Enter your username e.g. CSID@hutchison-mrc.cam.ac.uk (This your username not your email address)
- Enter your User account password
- Select eduroam, from the Wireless Network dropdown list
- Click OK
 |
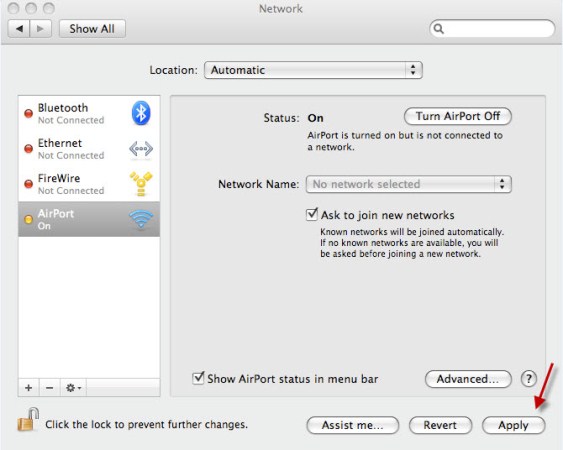
6. Click Apply
 |
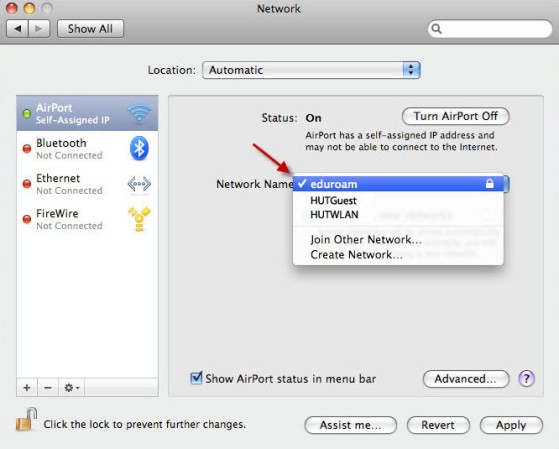
7. Select eduroam, from the Network Name dropdown list
 |
8. In the Verify Certificate dialogue box, select Show Certificate
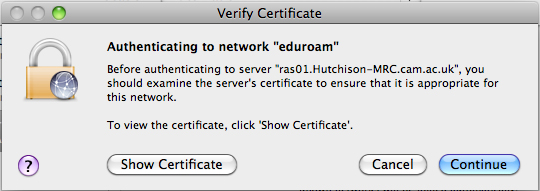 |
9. You should only ever accept Certificates for “ras01.hutchison-mrc.cam.ac.uk” or “ras02.hutchison-mrc.cam.ac.uk”
- If and ONLY if the Certificate is for ras01 or ras02 and has Hutchison-MRC-CA with in the Certificate chain then continue. Otherwise contact the IT Helpdesk
- Tick Always trust “ras01.hutchison-mrc.cam.ac.uk” or “ras02.hutchison-mrc.cam.ac.uk”
- Click Continue
 |
12. You should now be authenticated and connected to the eduroam network
 |
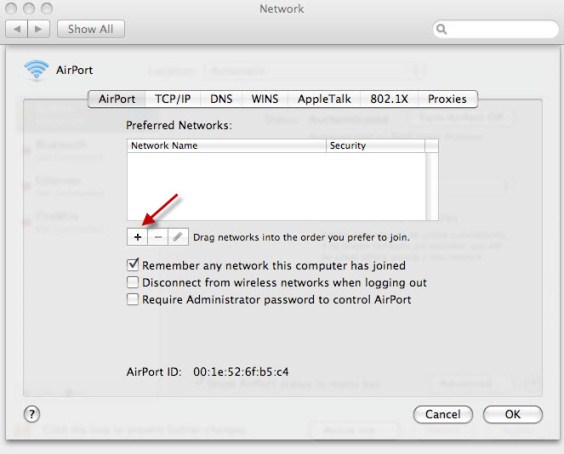
13. Select Advanced
 |
14. Select Airport, Click the + to add a Preferred Network
 |
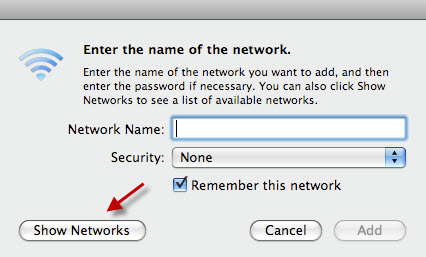
15. Select Show Networks
 |
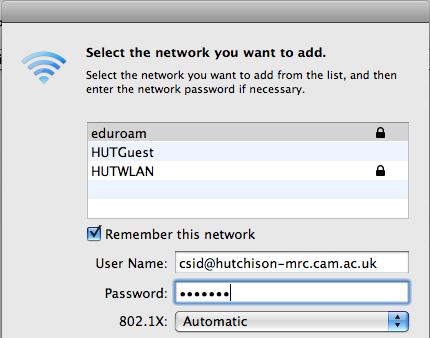
16. Select Preferred Network
- Select eduroam
- Enter your username e.g. CSID@hutchison-mrc.ac.uk (This your username not your email address)
- Enter your User account password
- Select eduroam, from the 802.1X dropdown list
- Click Add
|
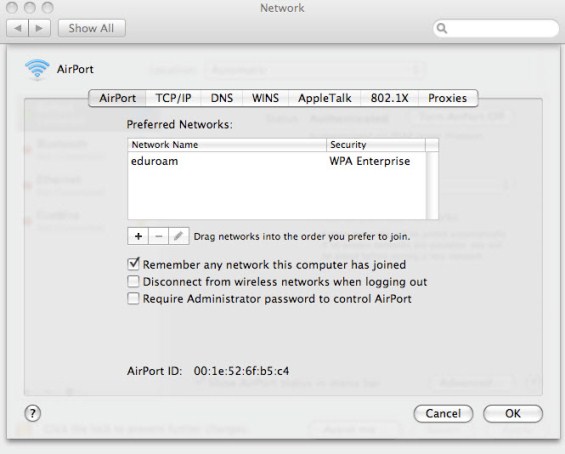
17. You should have now added eduroam as a Preferred Network
- Click OK
 |
18. You should now be connected to eduroam and have a preferred network configured to connect to eduraom automatically in future.
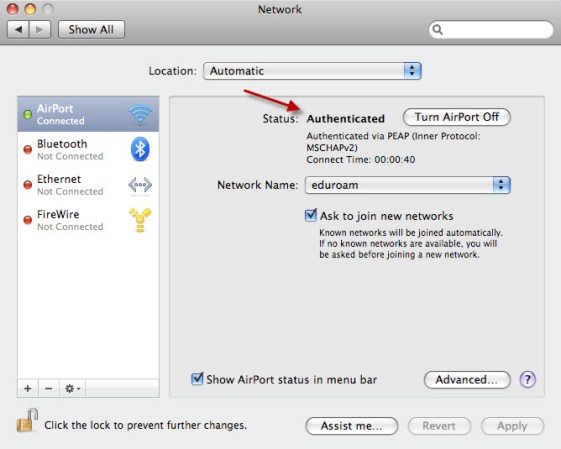 |
Your computer will now be authenticated to the network, after that you should be able to access the internet. If you get an error saying that authentication has failed, double-check the above steps.
All the settings you have made are stored in your computer and should not need re-entering each time you connect to the eduroam network.